...
| Info | ||
|---|---|---|
| ||
Prior to version 1.24.27, CodeMRI® Scanner required a separate installation of Understand. Beginning with CodeMRI® Platform 1.24.27, this requirement has been lifted. You may uninstall Understand via the Windows |
1.1. Navigate to http://www.codemri.com/installers and download CodeMRI® Scanner. If you have not done so already, create a CodeMRI® account by clicking on the "Sign up" link. Contact support@silverthreadinc.com if you do not see a link to download scanner after you have created your account and verified your e-mail address.
1.2. Unzip CodeMRI Scanner.zip into a directory, there will be two files.
1.3. Double-click setup.exe to run the installer. It may take a minute to launch the installer. (If you accidentally double click twice you will get a Windows error message saying it can't create the directory - this is an unfortunate Windows message but it won't interfere with the installation and you should just ignore it.)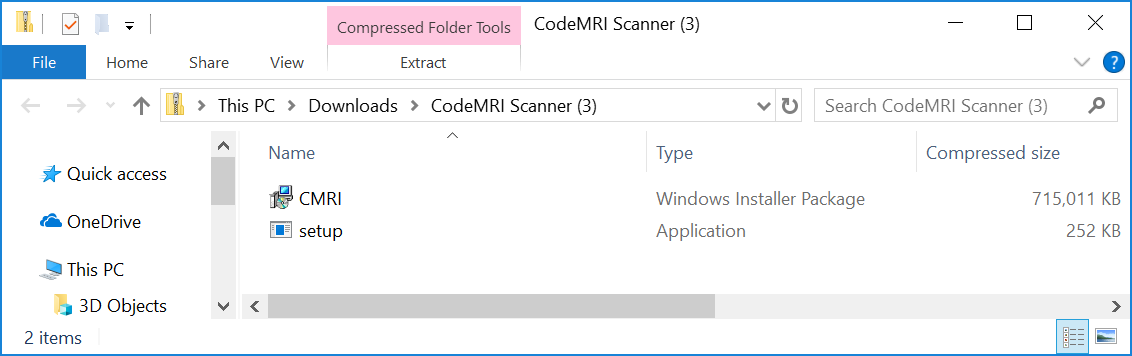
1.4. You may see a "Windows Defender SmartScreen" pop-up. If you do, click "More Info", then "Run Anyway".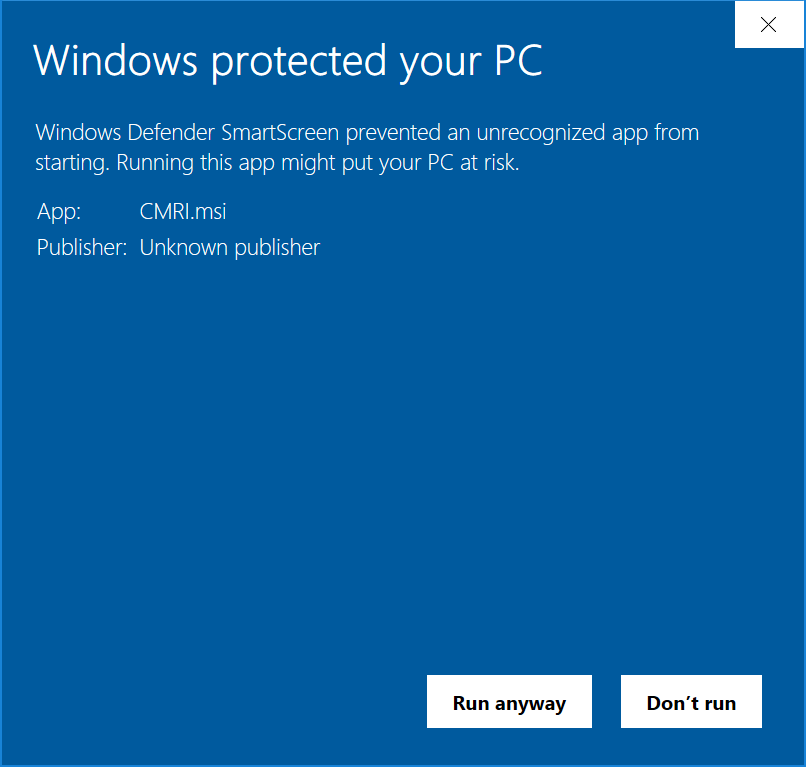
1.5. After selecting "Run Anyway", you will see the setup wizard. Click "Next" to review the license. If you agree to the terms of the license, click "I Agree", and then click "Next" again.
1.6. After agreeing to the license, the installer will prompt you to select a folder to install scanner into. For most systems, the default is fine. Click "Next" to continue.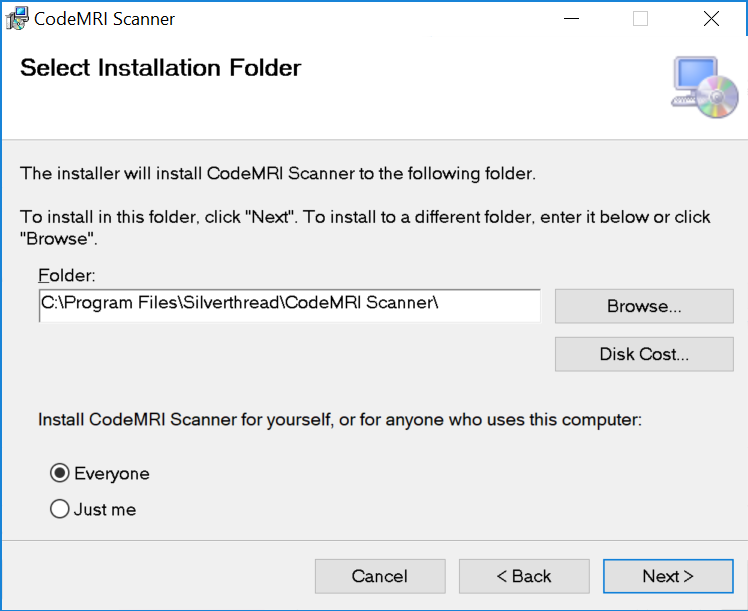
1.7. Click "Next" again at the following screen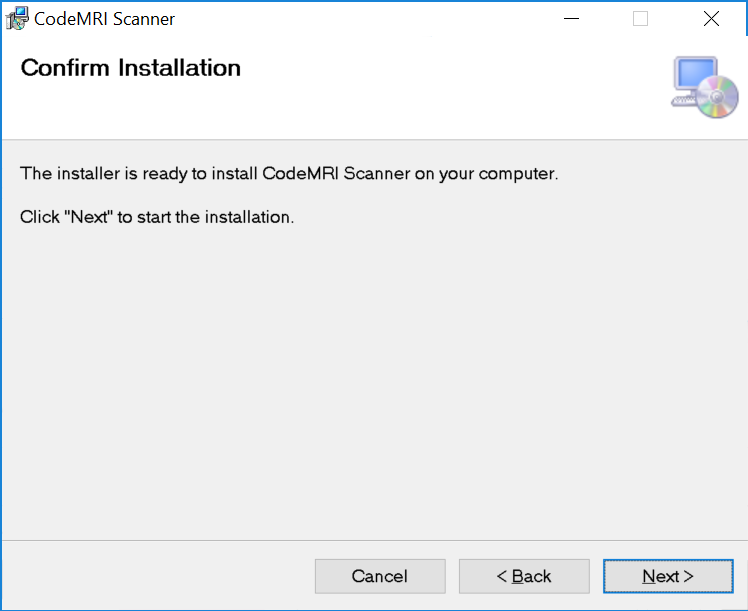
- Windows may pop up a "User Account Control" prompt. Click "Yes" to continue installation.
- During the installation, a console window (below) may appear. Do not attempt to close this window-- doing so will cause installation to fail.
- The progress bar will stop moving for a few minutes about halfway through the installation process. Do not terminate the installer during this time, as the installer has not stalled.
- Once installation is completed, you will see
CodeMRI Scannerin your programs menu.
...
2.1. Setting up your scan session
2.1.1. Open your start menu and click on "CodeMRI Scanner". It may take a few seconds for CodeMRI Scanner to load.
2.1.2. Click "Express Scan".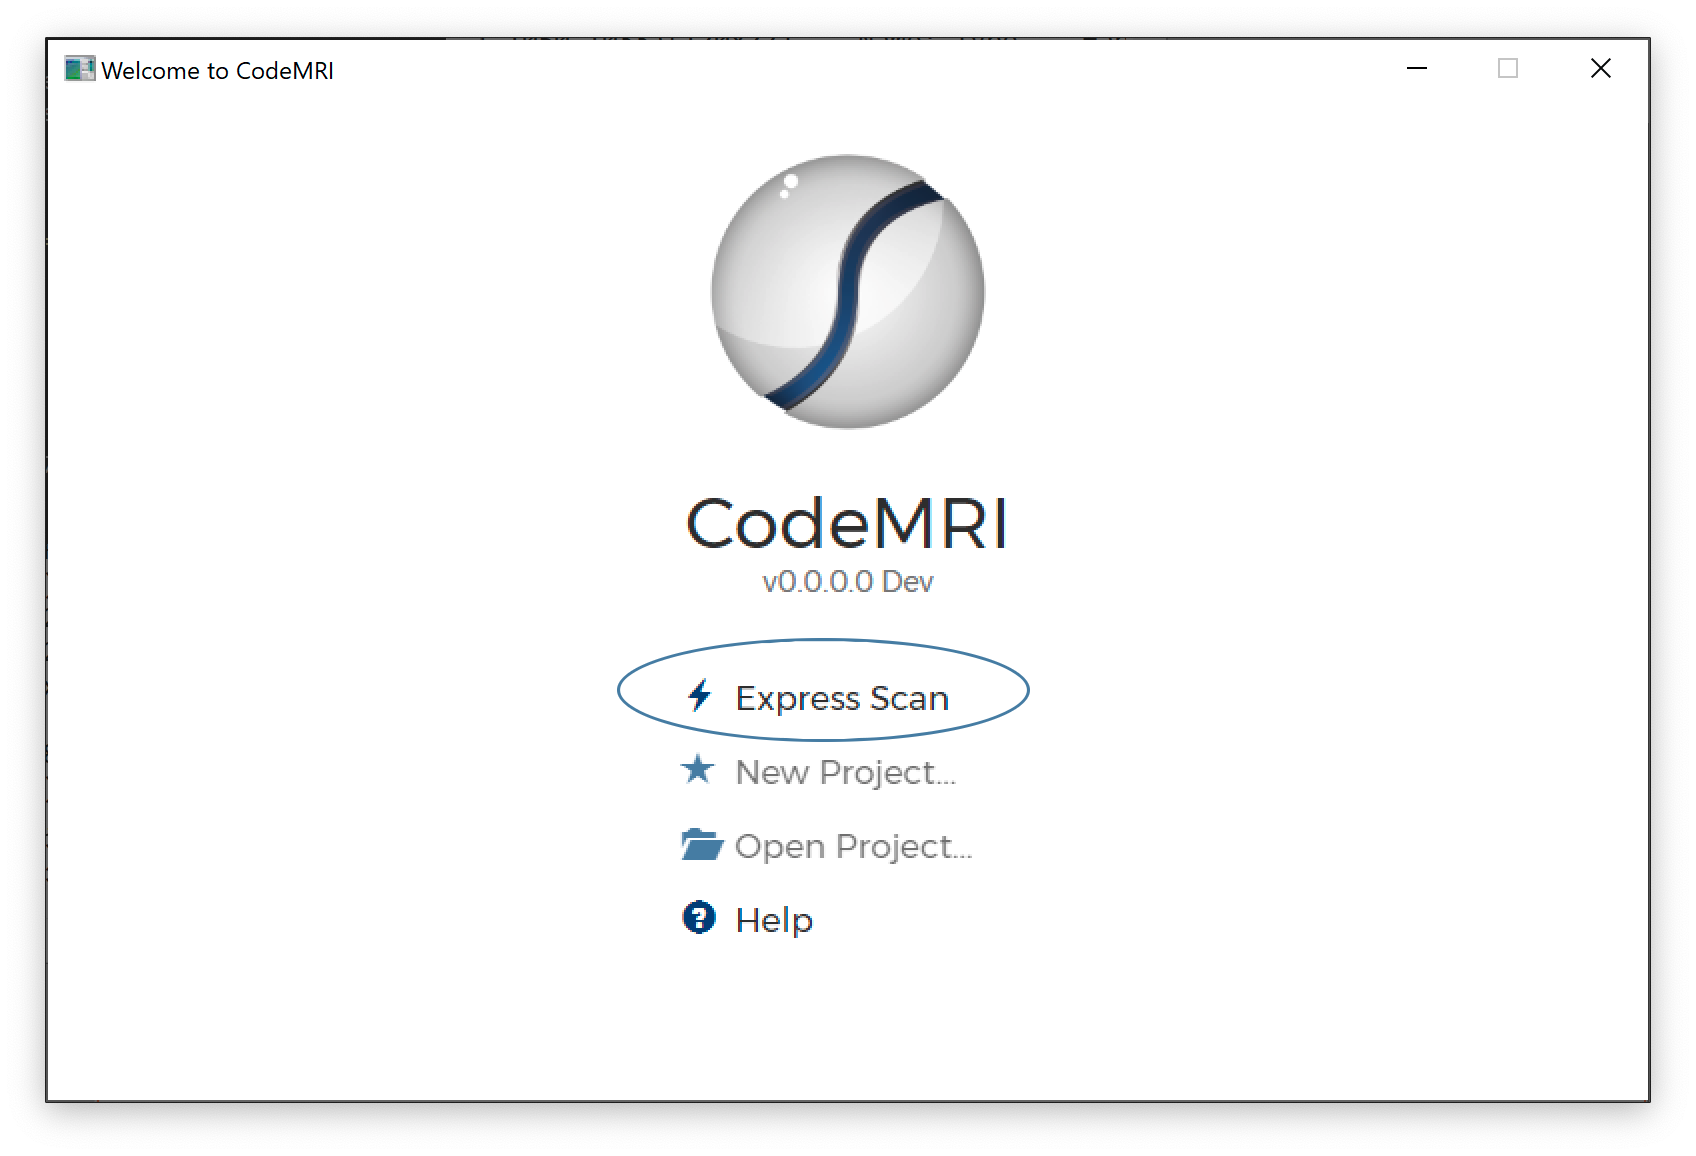
2.1.3. Fill in details about the system and scan.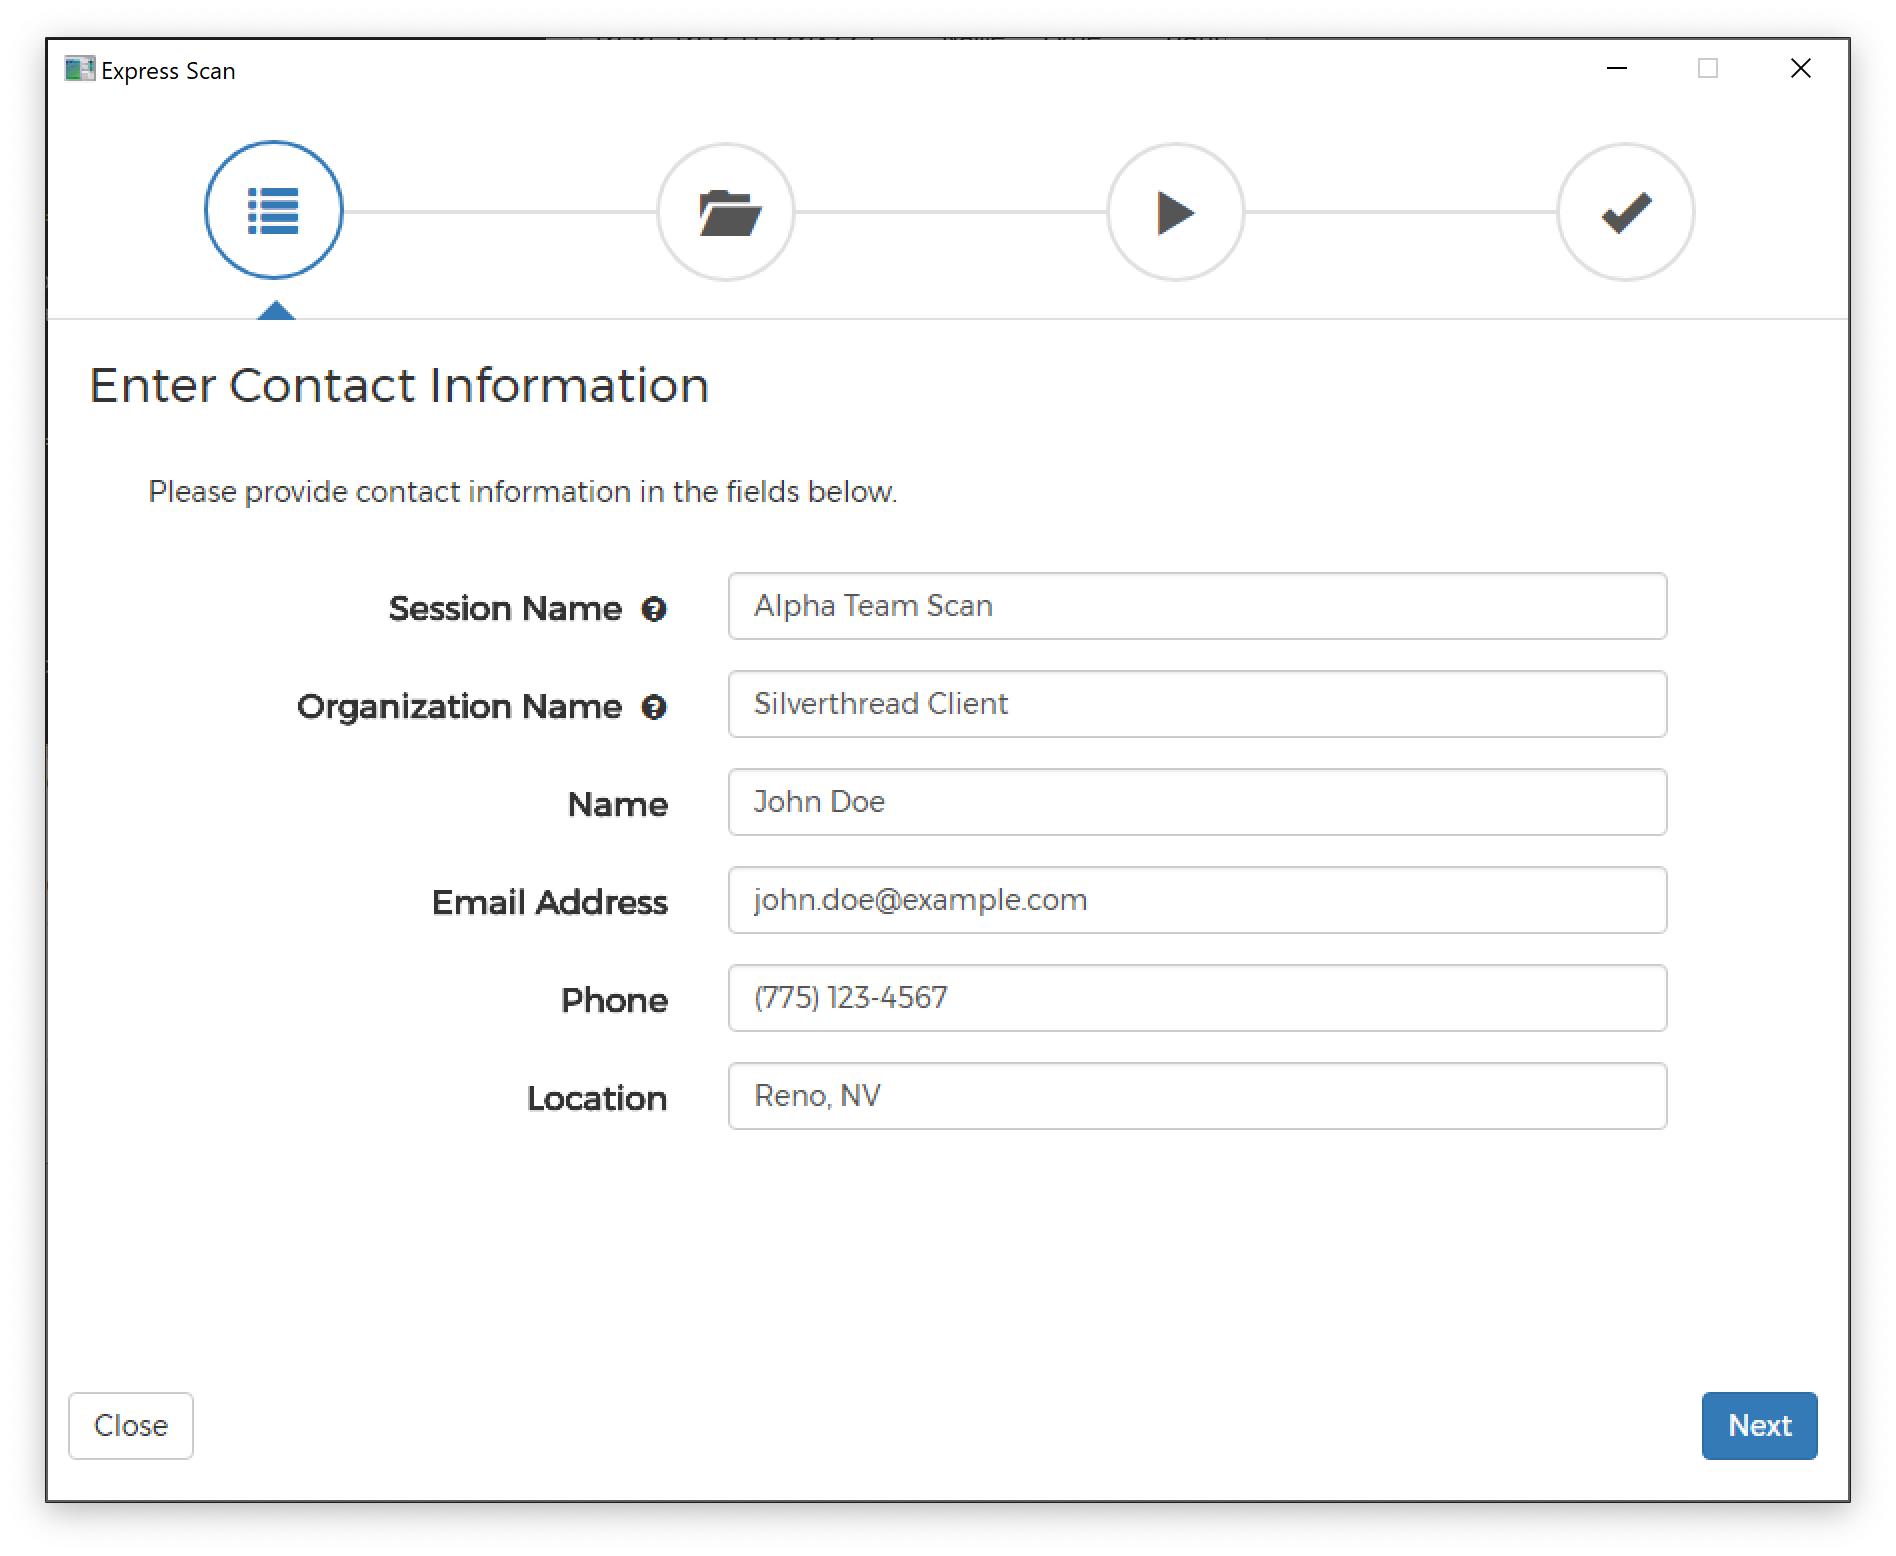
2.1.4. Once you have filled in your details, click Next to proceed.
2.2 Completing the Scan
2.2.1. Enter the directory you would like to place output files in. Please note that this directory will be cleared at the beginning of the scan; we highly recommend creating a new, empty, folder and using that folder as the output directory.
2.2.2. Add one or more codebases to scan using the buttons on the button group below:
a. Add Codebase from Folder: Add a single codebase from a folder. Scanner will attempt to automatically detect the codebase name and version from the name of the folder as <name>-<version> (i.e. MyProject-1.0 would be MyProject version 1.0). You may need to fill in these fields manually or correct them if Scanner does not infer the correct ones.
b. Add Codebase from Archive: Add a single codebase from an archive file. Scanner supports the following archive formats:
c. Tar and compressed variants: .tar, .tar.gz, .tgz, .tar.bz2, .tb2, .tbz2
d. Zip: .zip
e. Source RPM: .rpm
f. Add Directory Containing Codebases: Add multiple codebases from a folder containing one or more archives or subfolders.
2.2.3. Verify and correct any incorrect information in the codebase descriptions added. To change values, click ![]() to expose the edit fields, and then click
to expose the edit fields, and then click ![]() to confirm the changes.
to confirm the changes.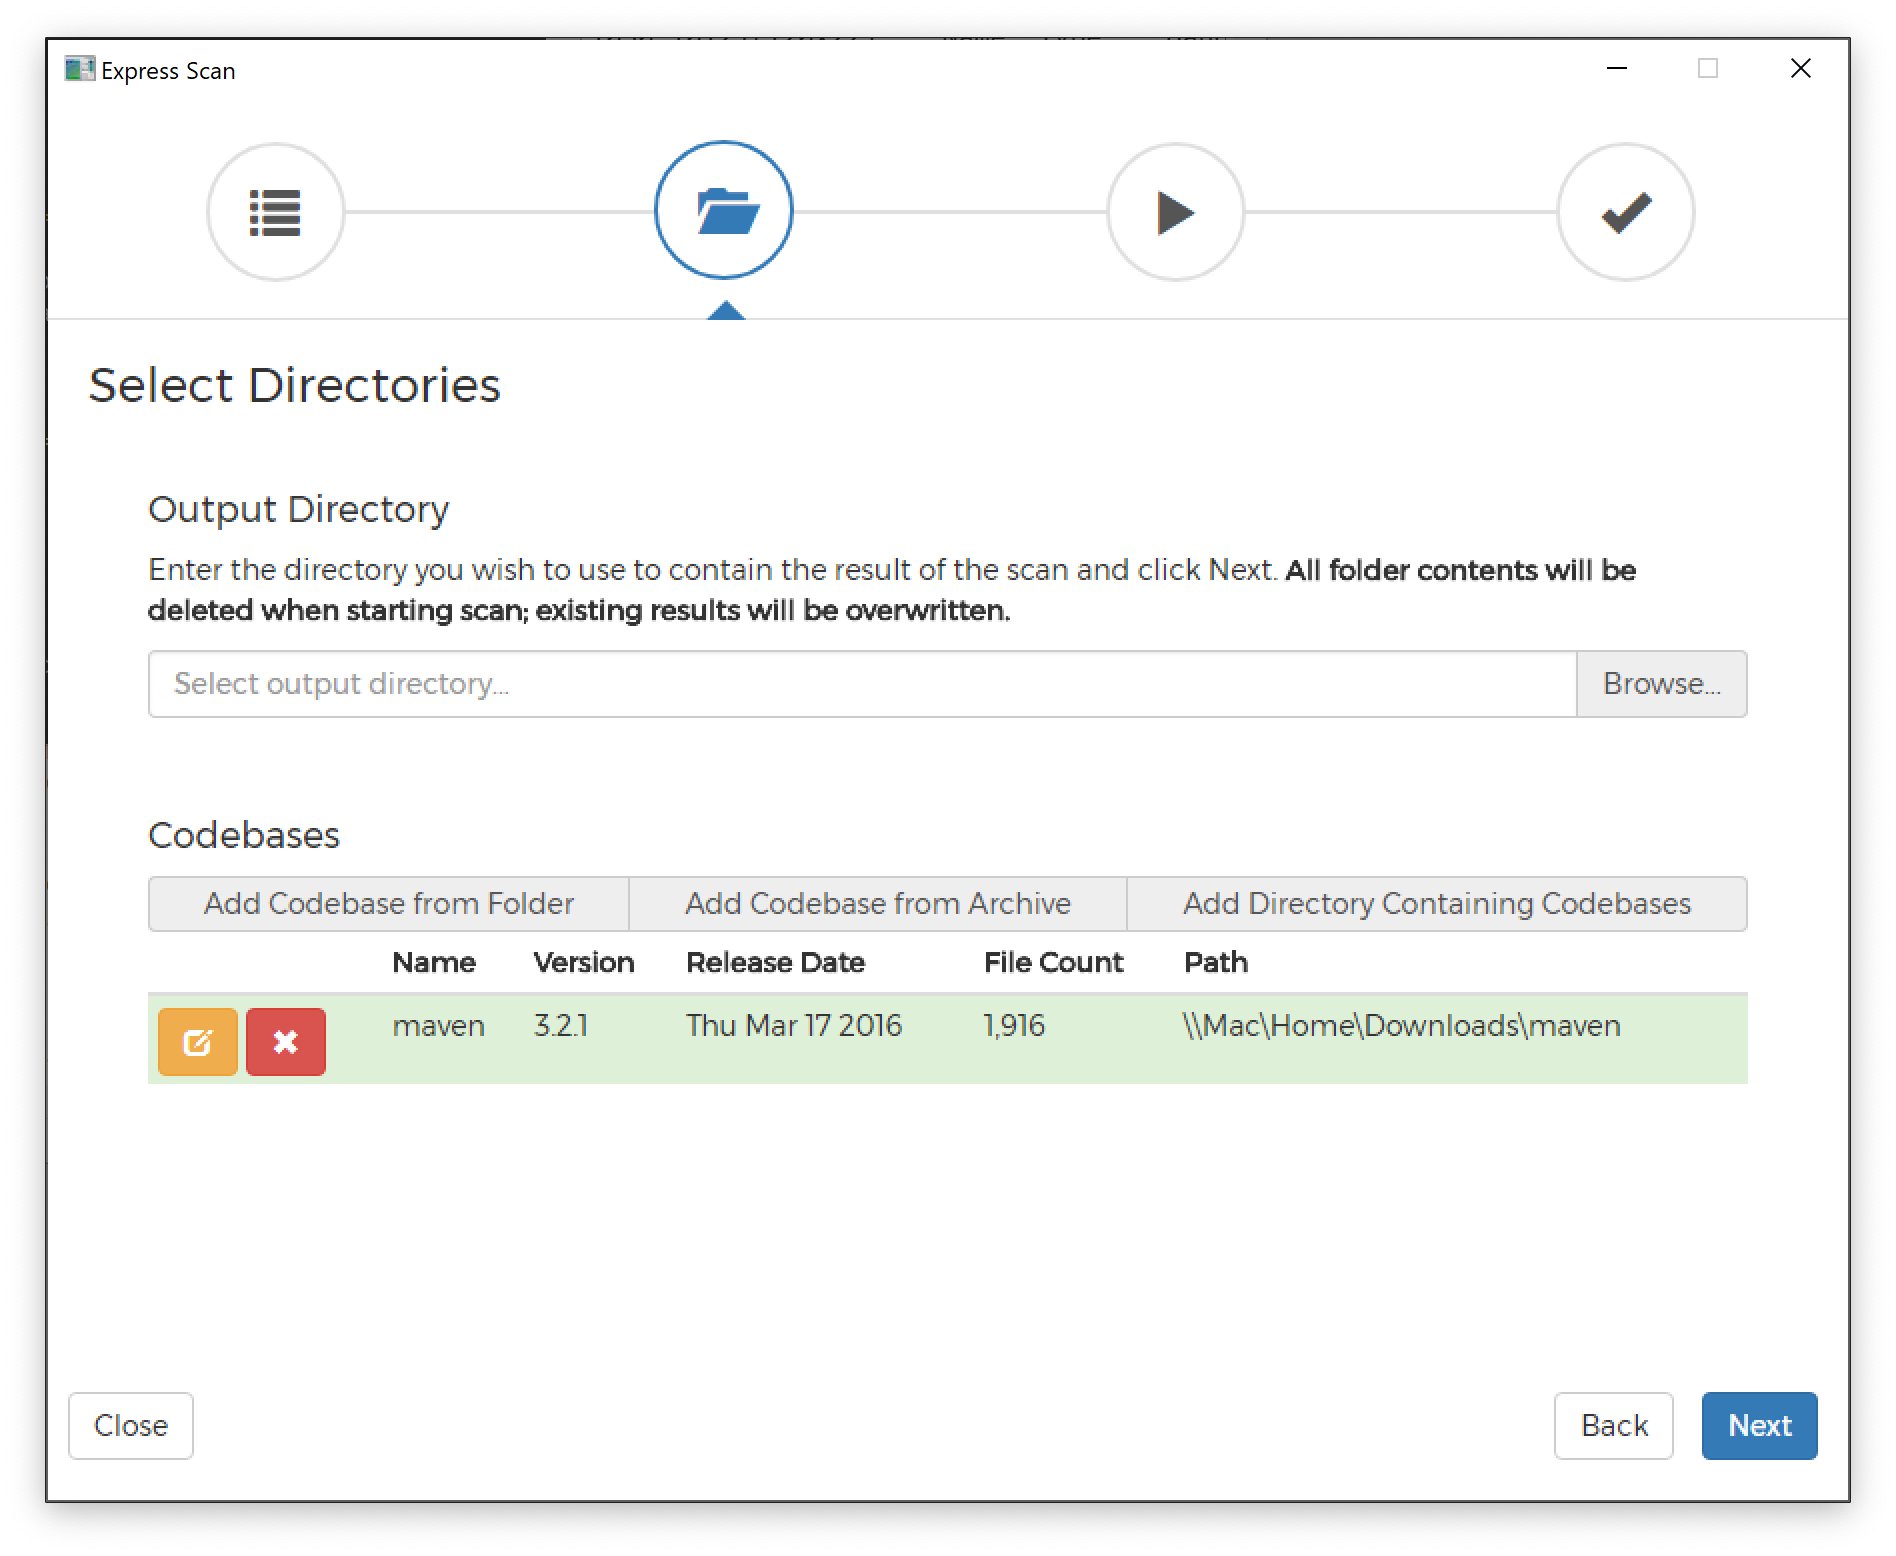
2.2.4. Click "Next" to proceed to the settings pane. 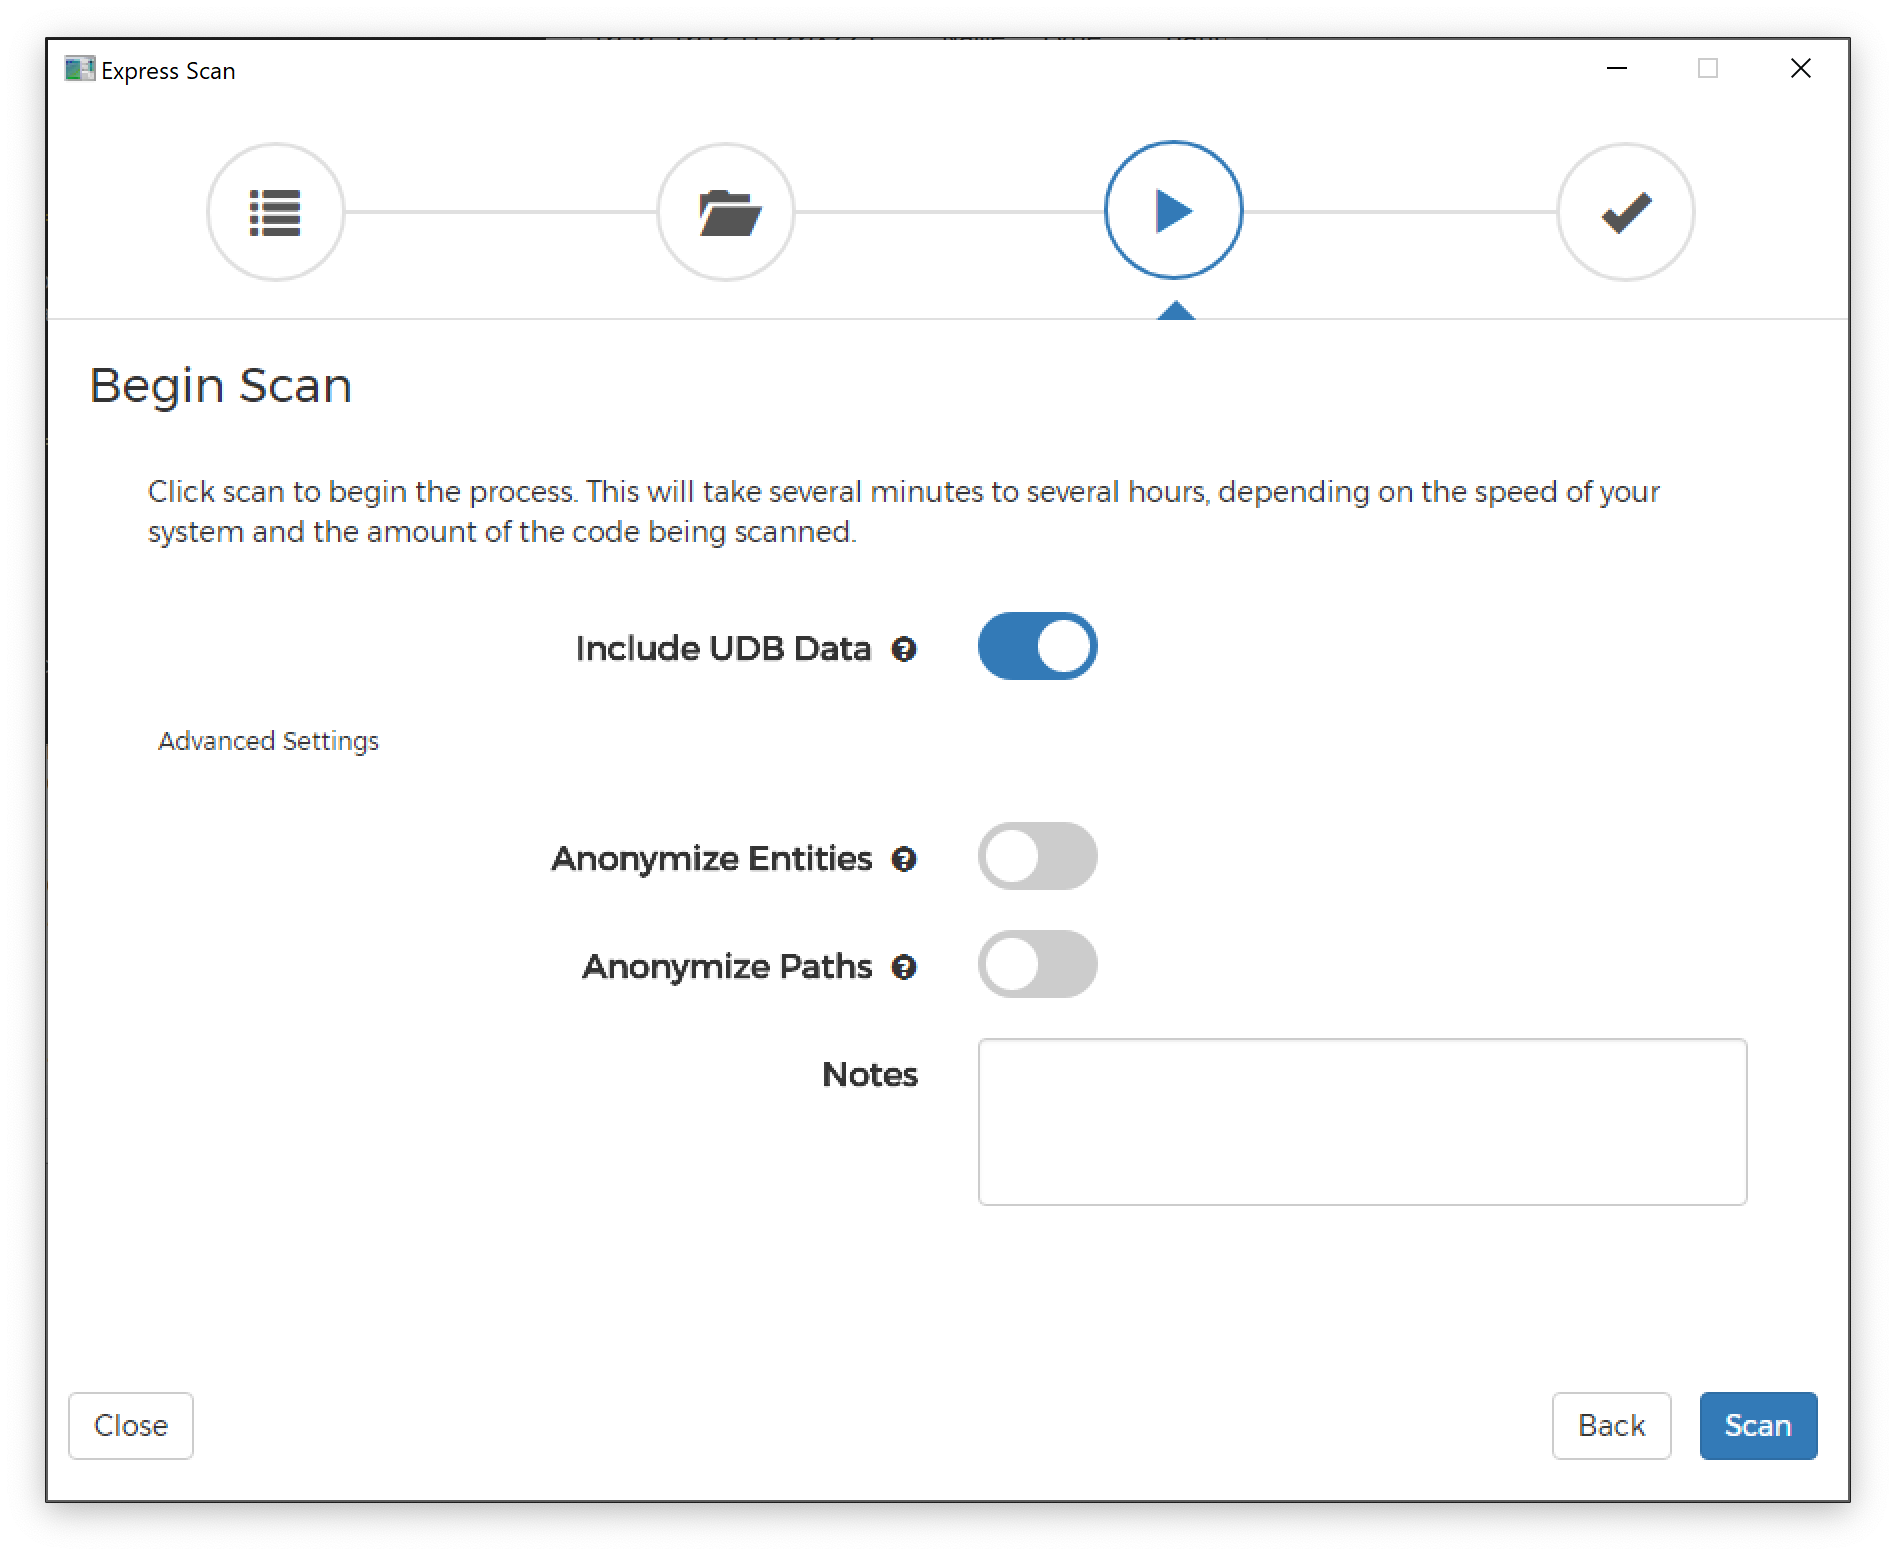
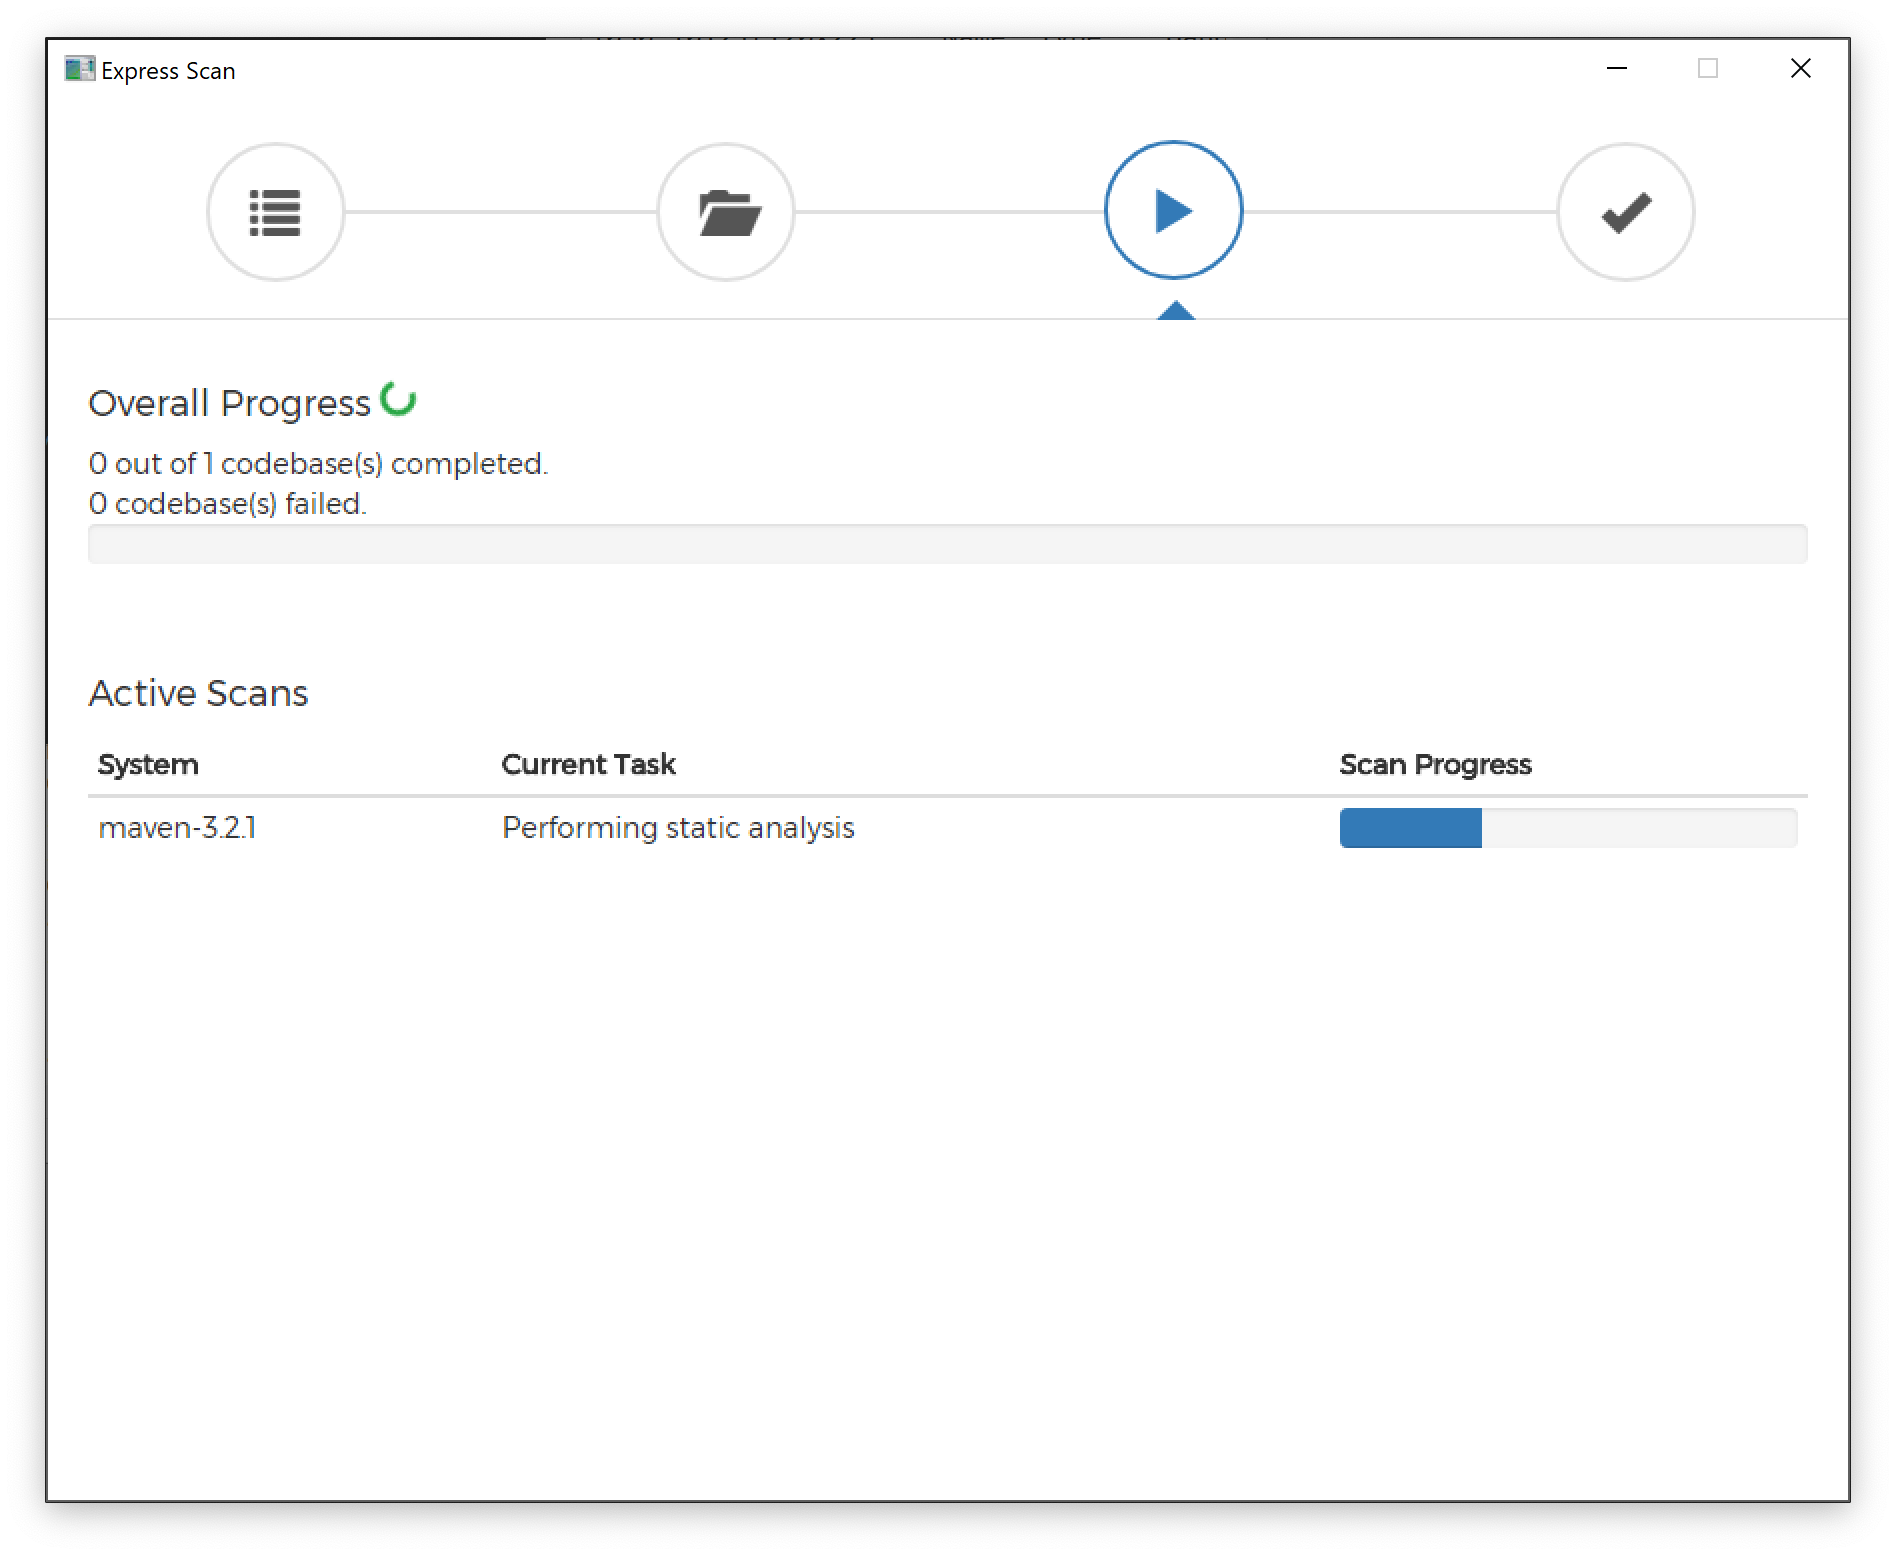
2.2.5. Click "Scan" to begin scanning your codebase. The scan may take anywhere from a minute to several hours depending on the size of your codebase.
| Info |
|---|
It is common for the scanner to stay on a single step in the process for several hours, even a day or longer for a very large codebase (e.g. in the neighborhood of 100,000 files). If you believe that Scanner is stuck, please contact support@silverthreadinc.com for guidance before terminating the application as you will lose all scan progress. |
2.2.6. Once complete, the results will be available under "View Output Files". Results for individual systems in the scan will be present under the folder name of <name>-<version>. 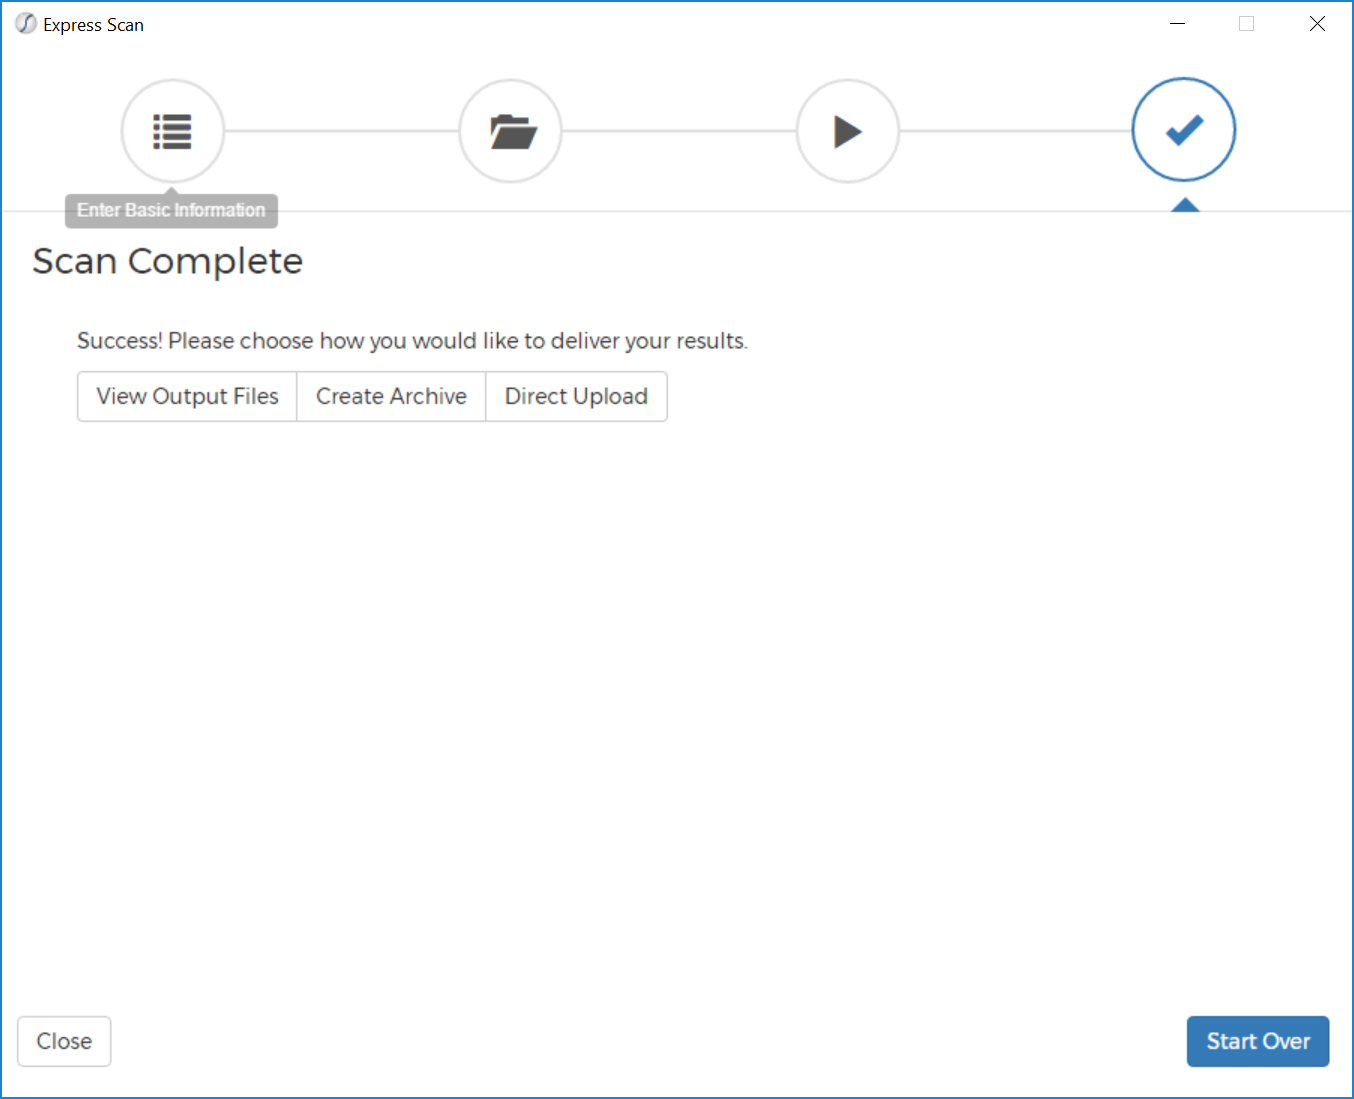
2.2.7. Click "View Output Files" and then "Show Files" to open up the folder containing scan data. The Create Archive and Direct Upload options are currently not supported, however Windows provides a simple way to zip up a folder:
a. Right click on the output folder in Windows explorer.
b. Hover over "Send To" to expose the submenu.
c. Click on Compressed (zipped) folder. After compression completes, you will see that a Zip file has replaced the output folder.
2.2.8. Send the zipped folder securely to our Amazon cloud using the upload feature:
a. After signing in to your CodeMRI® account, click the user dropdown.
b. Click "Upload"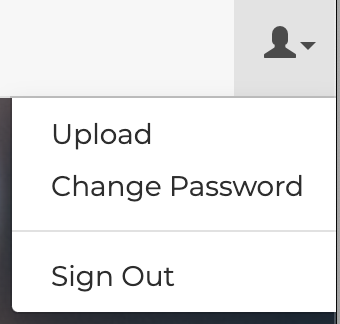
2.2.9. Click 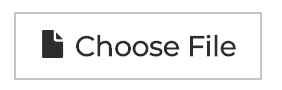 , then select the zipped folder you created. There is a 5GB limit on files uploaded via the upload button. If you are scanning multiple codebases, and the size of the result folder is over 5GB, we recommend zipping the individual folders and sending them one at a time. If you have a single codebase whose results are over 5GB in size, contact support@silverthreadinc.com for guidance.
| Page Properties | ||
|---|---|---|
| ||
|
...